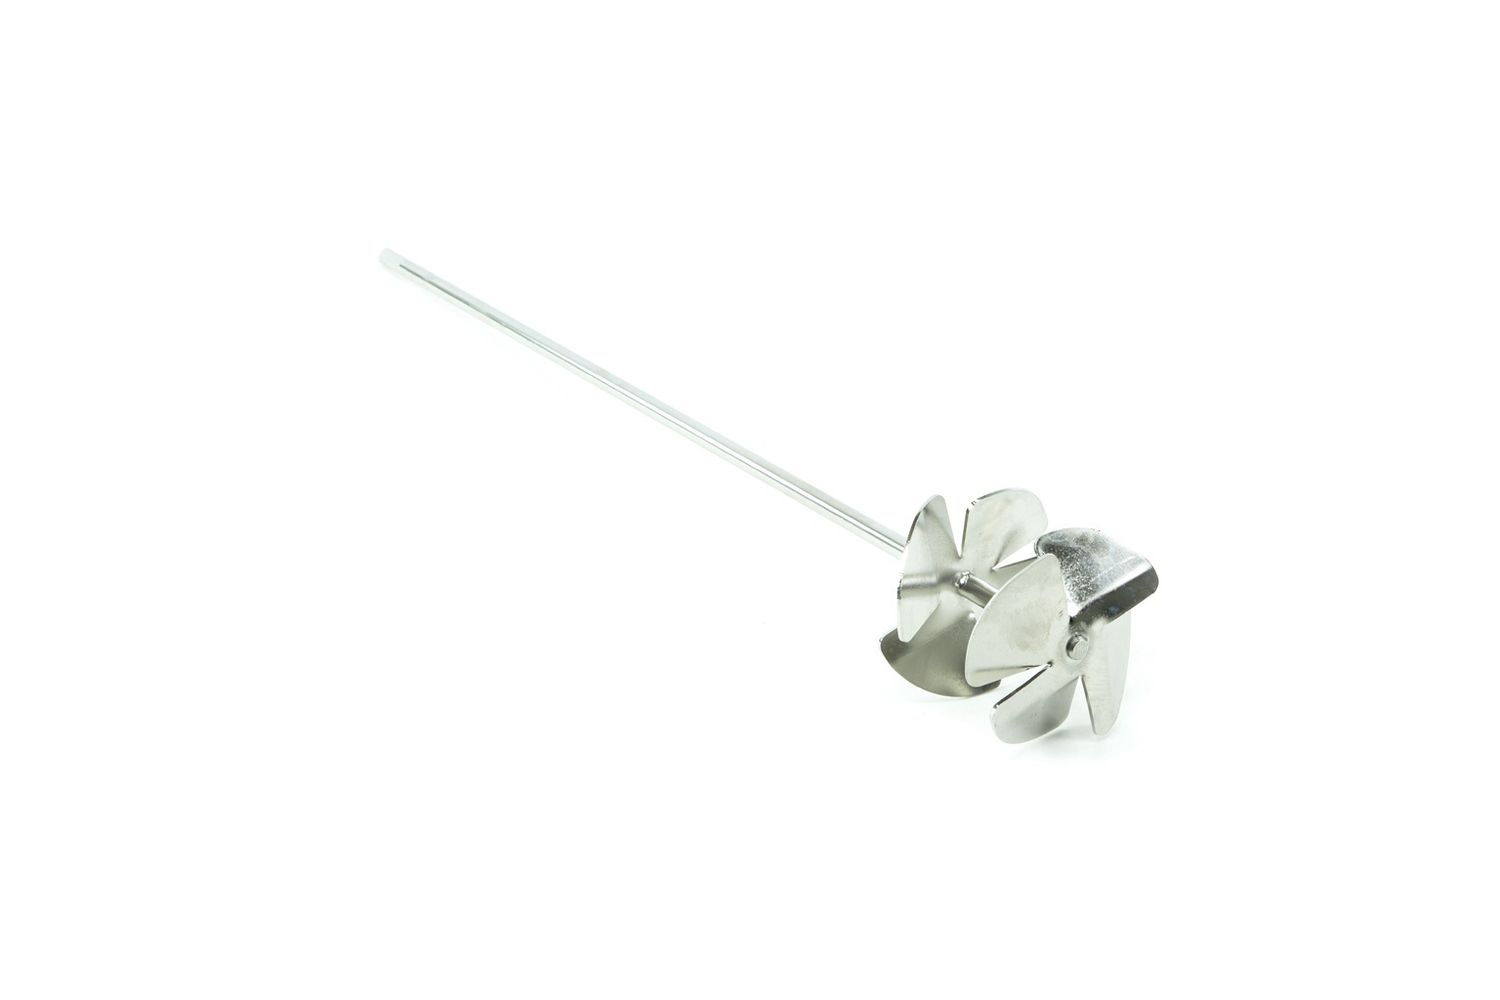
Stainless Steel Drill Bit for Creaming Honey
Elevate your honey production with the Lyson Stainless Steel Creamed Honey Drill Bit, an essential tool for any beekeeper dedicated to crafting the finest creamed honey. This high-quality, durable stainless steel drill bit is specifically designed to simplify the process of honey creaming and blending different honey varieties, ensuring a smooth, consistently textured product every time.
How to Use:
- Setup: Attach the drill bit to your heavy duty / impact / hammer drill. Ensure it is securely fastened before use.
- Mixing: Insert the drill bit into your container of crystallized honey. Start your drill at a low speed and gradually increase, moving the bit throughout the honey to ensure even mixing.
- Creaming: See extended instructions below.
- Blending: To blend different varieties of honey, use the drill bit to thoroughly mix them, achieving a unique flavor profile and consistent texture.
- Cleaning: After use, detach the drill bit and wash it with warm, soapy water, ensuring it's ready for your next batch.
Perfect for both amateur and professional beekeepers, the Lyson Stainless Steel Creamed Honey Drill Bit not only enhances the quality of your honey but also streamlines your honey processing with its efficient design and ease of use
Diameter 9.5 cm
Length 60 cm
Creaming Honey using Drill
To cream honey using a mixing drill, follow these detailed steps to ensure a smooth and consistent creamed honey product:
Equipment Needed
- Electric drill (preferably with a variable speed setting)
- Specialized honey creaming drill bit or a clean, food-grade mixing attachment
- Large food-safe bucket or container
- Thermometer (if heating is necessary)
- Clean, dry jars for storage
Step-by-Step Process
- Prepare Your Honey:
- If your honey has crystallised or has granules, you may need to gently warm it to dissolve these crystals. Honey just starting to naturally crystalise is best - starting with honey free of large crystals or chumks will help make a smoother creamed honey. Heat the honey in a double boiler or a warm water bath to about 40 degrees Celsius, then cool it down to about 24 degrees Celsius. This process ensures that the honey is liquid and free of any large crystals which could affect the creaming process.
- Set Up Your Equipment:
- Attach the creaming drill bit or mixing attachment to your electric drill. Ensure that everything is clean and dry to prevent contamination.
- Mixing:
- Place your liquid honey in the large bucket. Begin mixing with the drill at a low speed to avoid incorporating air into the honey. The goal is to create a smooth texture without aerating the honey, as introducing air can lead to a frothy mixture rather than a creamy consistency.
- Continue mixing, gradually increasing the speed as necessary, but be cautious of not whipping the honey. The mixing should be more akin to folding rather than vigorous whipping.
- Adding Seed Honey:
- To initiate the creaming process, add a small amount of pre-made creamed honey (known as "seed" honey) to your liquid honey while mixing. This seed honey should have the fine crystalline structure you desire in your final product. The typical ratio is about 10% seed honey to your liquid honey.
- Mix thoroughly to ensure the seed is evenly distributed throughout the honey.
- Rest and Set:
- After thorough mixing, allow the honey to rest in a cool place (around 14 degrees Celsius) for several days. This resting period allows the fine crystals from the seed honey to propagate throughout the batch, creating a smooth, creamy texture.
- Final Mixing and Storage:
- Give the honey one last mix after the resting period to ensure consistency. Then, transfer the creamed honey into clean, dry jars. Seal the jars tightly and store them in a cool, dark place to maintain the creamy texture.
- Maintenance:
- Regularly check the consistency of the honey and stir if necessary to maintain the creamy texture until it's ready for use or sale.
By following these steps, you can efficiently use a mixing drill to produce high-quality creamed honey. This method is particularly useful for larger batches where manual mixing would be impractical or too labor-intensive.

